Bow Hold Made Easier
- The Executive Team
- Aug 21, 2025
- 3 min read
Updated: Jan 12
In a previous post (Posture - Part 2), we talked about a proper bow hold. But even after seeing pictures and watching videos, holding a bow can be physically difficult (even painful). Are there ways to make holding a bow easier? Absolutely yes! Learning how to hold a bow properly and consistently can be made easier with some gadgets and tools.
Padding for Your Thumb
First, here is a picture once again of where the right thumb should go. You place your thumb in between the strings and the bow, where the frog meets the stick. The inside corner of your thumb goes right in that corner space.

Image Source: https://www.sagemusic.co/blog/how-to-hold-a-violin-bow/
Unfortunately, that corner can feel sharp and cause your thumb to feel sore. Many teachers and even some violin shop owners, will suggest that you put some padding there, to make it less painful for your thumb. Foam pencil grips or gel pencil grips are examples of padding sometimes used. However, getting those on a violin bow can be difficult, requiring taking the bow apart and stretching the grips over the stick and frog. If you are not careful, you might damage your bow.
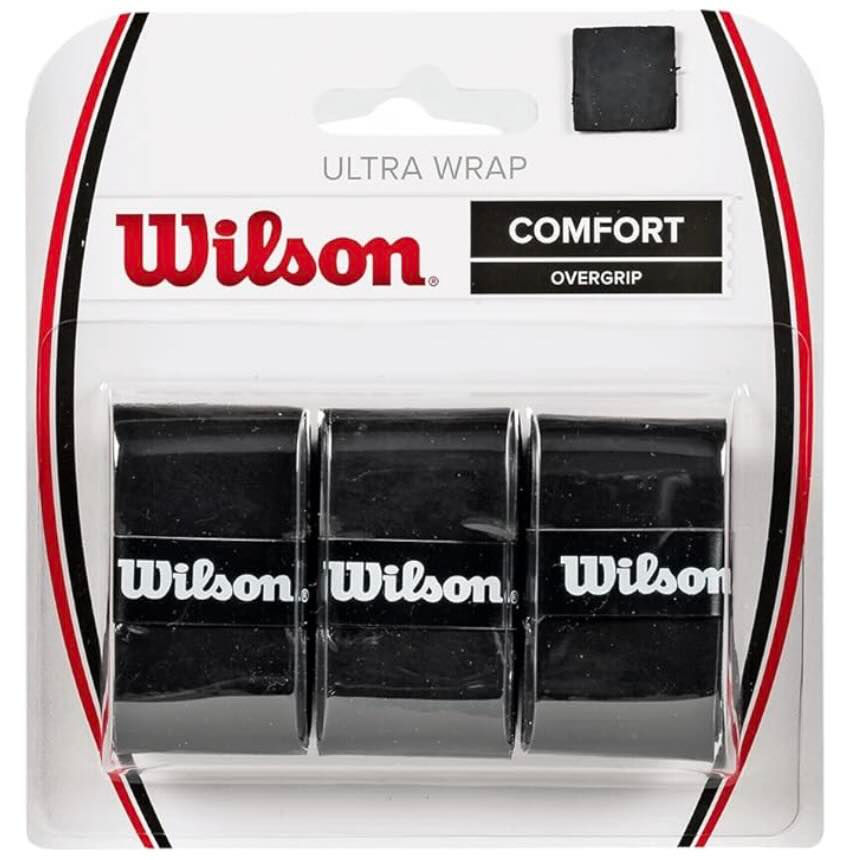
An easier option (that does not require taking apart the bow and is also inexpensive), is to add padding by using tennis overgrip. Here is an example. https://www.amazon.com/WILSON-Sporting-Goods-Overgrip-WRZ403000/dp/B00JG95BSM/
Tennis overgrip can be purchased as a kit that comes with a padded and "stretchy" wrap, and some removable tape. To add padding with tennis overgrip, you would do the following:
First, unroll the padded wrap, and cut a 3-4 inch strip.
Then, cut a small piece of the removable tape. A half inch should be enough.
Gently wrap the padded overgrip around the bow and sharp frog corner a few times. You can pull and stretch it as needed so the overgrip is not too loose.
Use the tape to secure the end, so the overgrip does not unravel.
Try holding the bow with the newly added padding.
If more cushioning is desired, cut and wrap a longer piece of overgrip on the bow.
This approach reduces the chance that you might damage your bow, and it is easy to increase or decrease the amount of cushioning, so that it feels just right for you.
Guidance for Your Pinky
Here is a picture once again of a good "Franco-Belgian" bow hold. Notice that the pinky rests on top of the bow. Unfortunately, for beginners, it is easy for the pinky to slip and move around.

Image Source: https://www.sagemusic.co/blog/how-to-hold-a-violin-bow/
To help you learn to properly position your pinky, a soft "pinkiehold" that you slide onto the end of the stick can help. It can also help you build up the strength of your pinkie finger. These can be purchased from many retailers including Amazon. https://www.amazon.com/PinkyHold-Violin-Viola-Bowing-Pinky/dp/B0CJRPNJRT/

To add a "pinkiehold" to your bow, simply slide the pinkiehold over the back end of your bow. There is no need to take apart your bow. Your pinky then goes in the hole on top.
Final Thoughts
As you become more skilled, eventually, you will be able to hold the bow properly without the pinkiehold. Your thumb will also become stronger and you may not need as much padding as small callouses form on your thumb.
The key though is that you need to keep practicing holding the bow correctly. Review videos like this one, to help you hold your bow correctly and consistently.


